
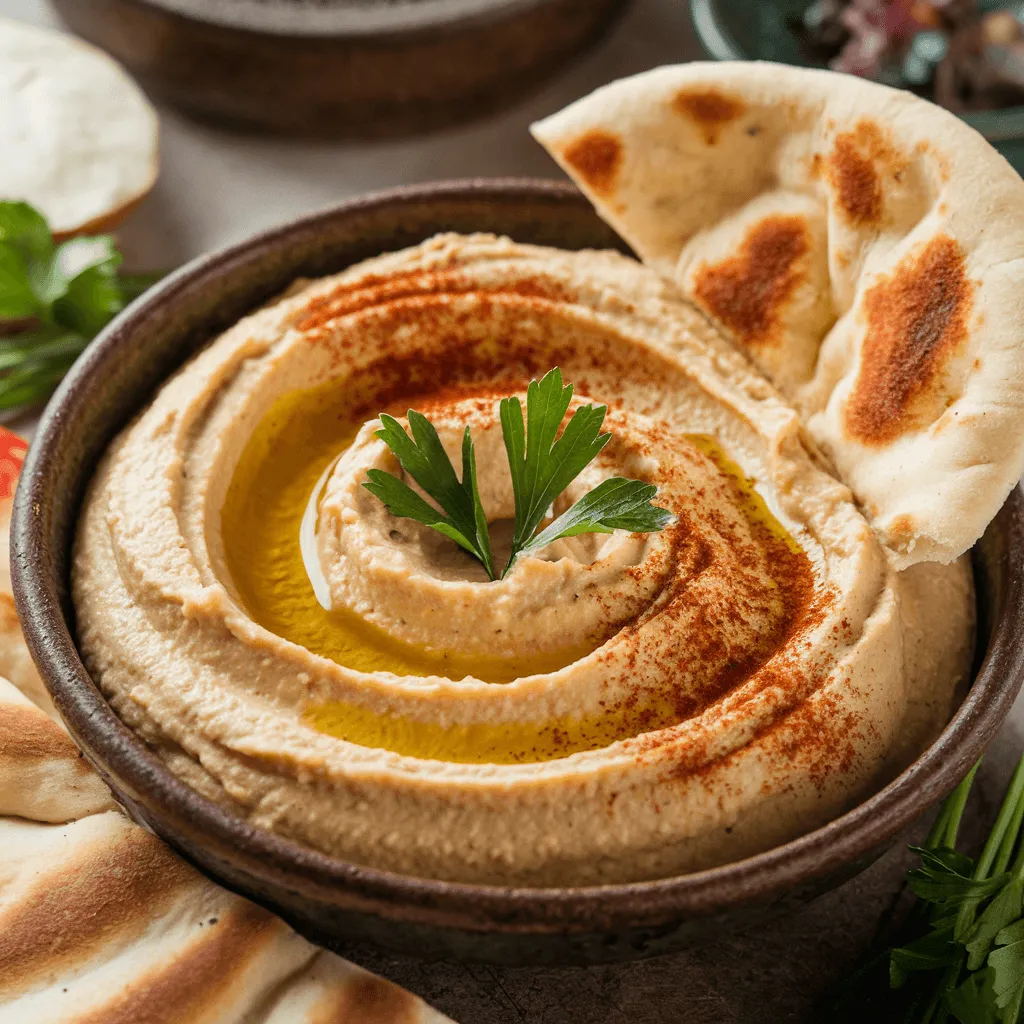
If you’re craving something smooth, creamy, and packed with flavor, look no further than homemade hummus. This Middle Eastern dip is more than just a snack—it’s a versatile, protein-packed dish that works with almost anything. Plus, making it at home ensures freshness, better taste, and complete control over ingredients.
Why Homemade Hummus is a Game-Changer
Let’s be honest—store-bought hummus just doesn’t hit the same. Sure, it’s convenient, but have you ever checked the ingredient list? Preservatives, excessive oils, and sometimes even added sugar sneak their way in. On the other hand, making homemade hummus takes just five minutes, and the taste? Next level.
Here’s why you should ditch the store-bought version and go the DIY route:
- Freshness at its peak – You decide what goes in, ensuring clean, high-quality ingredients.
- Healthier and tastier – Say goodbye to unnecessary additives and hello to pure, wholesome flavors.
- Customizable to your taste – Love extra garlic? Want it spicier? More lemony? You’re in control!
Not to mention, it’s super affordable compared to the overpriced tiny tubs from the store.
Who Can Enjoy This Easy Homemade Hummus Recipe?
The beauty of hummus lies in its versatility. It caters to almost every dietary preference—vegan, gluten-free, dairy-free, and high-protein.
Dietary Benefits and Suitability
Hummus isn’t just delicious—it’s also packed with nutrients. Here’s what makes it a great addition to any diet:
- High in protein – Thanks to chickpeas and tahini, it’s a great plant-based protein source.
- Rich in fiber – Supports digestion and keeps you feeling full longer.
- Healthy fats – Tahini and olive oil provide heart-friendly unsaturated fats.
- Low in carbs – Great for those watching their carb intake.
This means hummus is great for weight loss, muscle building, and even heart health. Whether you’re on a vegan diet, keto, or just looking for a healthy snack, it fits right in.
Common Misconceptions About homemade Hummus
Despite its rising popularity, some people still hesitate to make hummus at home. Let’s clear up a few myths:
- “Hummus is hard to make.”
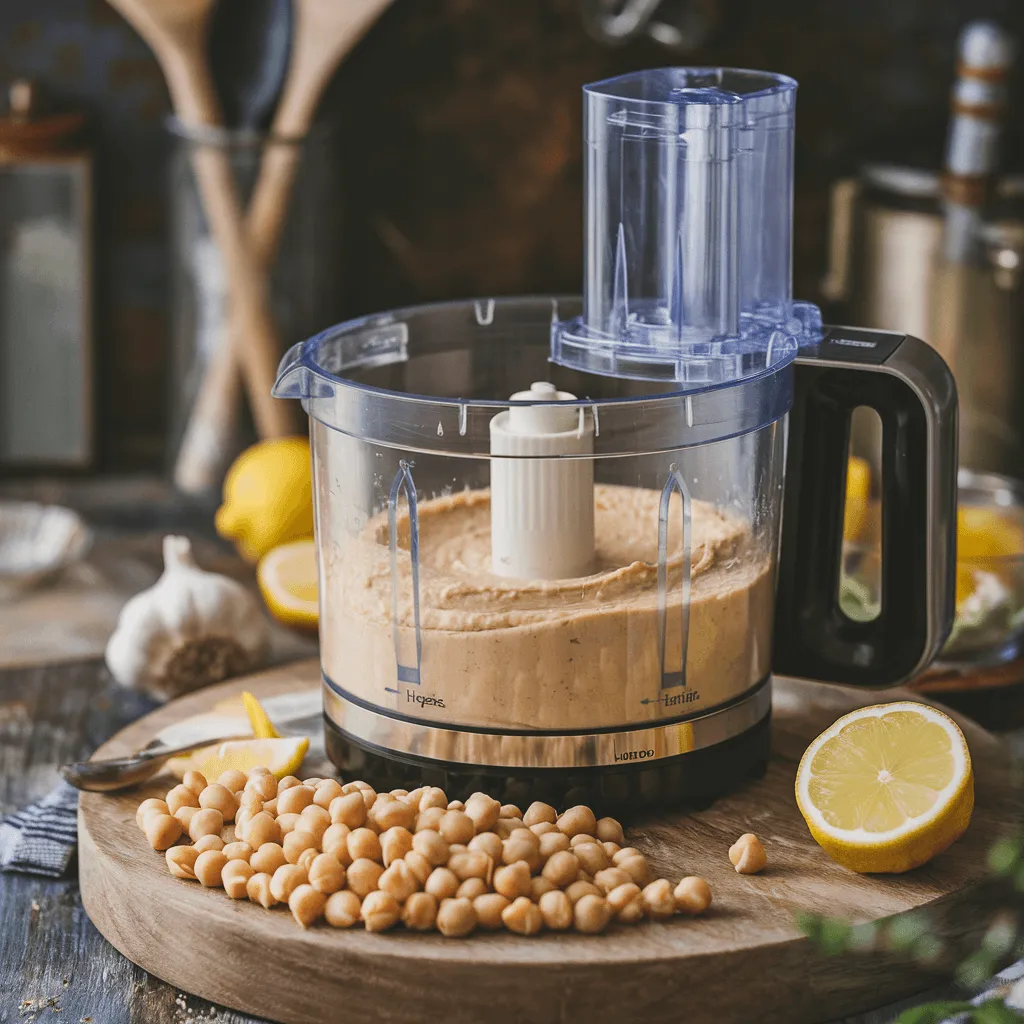
- Nope! If you have a blender or food processor, you’re literally five minutes away from creamy hummus.
- “You need fancy ingredients.”
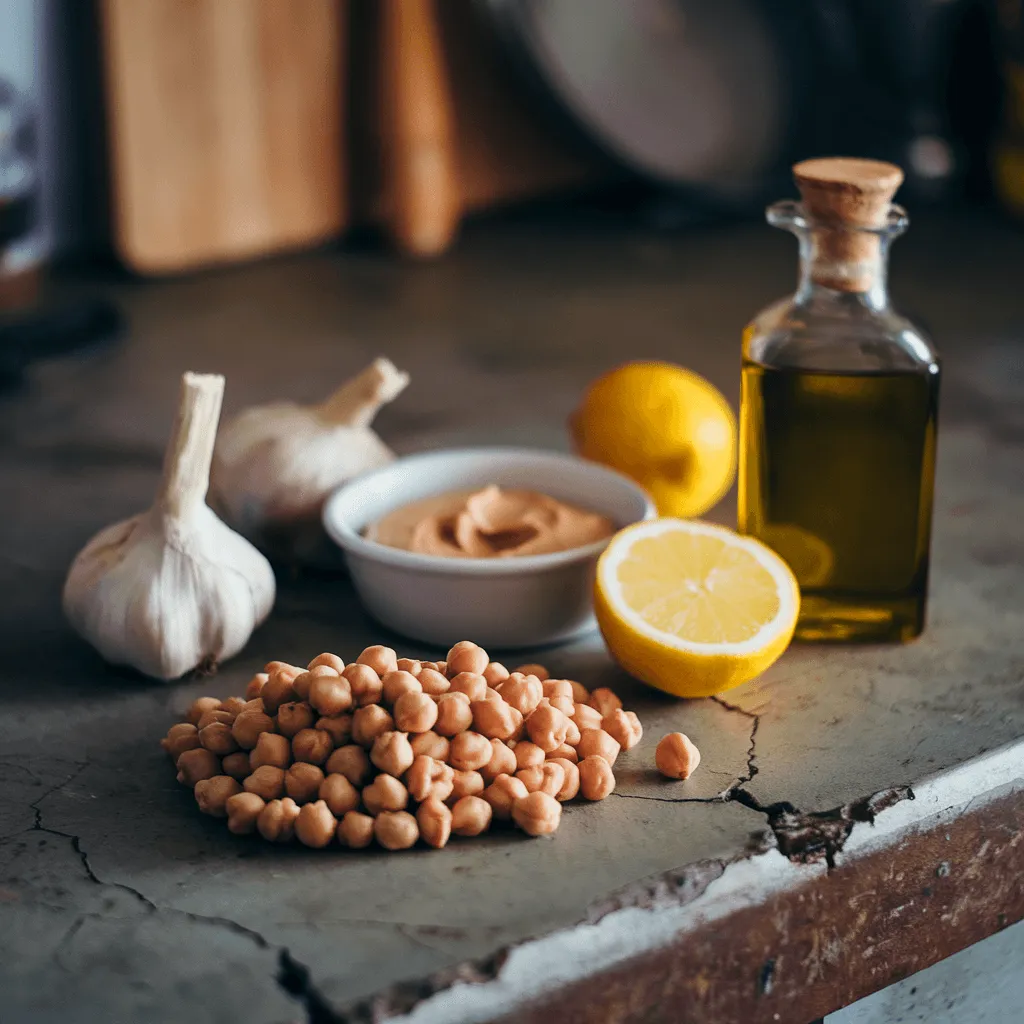
- Basic hummus requires only five ingredients—chickpeas, tahini, lemon, garlic, and olive oil.
- “Canned chickpeas don’t work.”
- They do! In fact, they make the process faster without sacrificing taste.
With all that in mind, it’s time to jump into the ingredients and preparation process!
Breaking Down the Core Homemade Hummus Ingredients
If you’ve ever wondered what makes homemade hummus taste so darn good, it all comes down to simple, high-quality ingredients. You don’t need anything fancy—just a handful of essentials that come together for creamy, nutty, and slightly tangy perfection.
Chickpeas – The Heart of Hummus
At its core, hummus is a chickpea-based dip. These little legumes bring a mild, nutty flavor and a creamy texture when blended. Plus, they’re loaded with protein and fiber, making hummus both satisfying and nutritious.
But what’s better—dried or canned chickpeas?
- Dried chickpeas: Give the best flavor and texture, but they take longer since they require soaking and cooking.
- Canned chickpeas: Perfect for a quick homemade hummus fix. Just drain, rinse, and blend!
👉 Pro Tip: If using canned chickpeas, warm them up before blending. It makes the hummus even creamier!
Tahini – What It Is and How to Make It
Tahini is the secret weapon behind homemade hummus’s silky texture and nutty taste. It’s just ground sesame seeds turned into a paste, but it makes all the difference.
Simple Homemade Tahini Recipe
Making your own tahini at home is easier than you think! If you ever find yourself out of store-bought tahini, here’s how to make it from scratch:
Ingredients:
- 1 cup sesame seeds
- 2 tbsp neutral oil (like grapeseed or light olive oil)
- A pinch of salt (optional)
Instructions:
- Toast sesame seeds in a dry pan for 2-3 minutes until fragrant (don’t let them burn!).
- Let them cool slightly, then blend in a food processor.
- Add oil gradually while blending until you get a smooth, pourable consistency.
- Store in a jar and refrigerate—it lasts about a month!
👉 Pro Tip: Using roasted sesame seeds? You’ll get a deeper, more intense tahini flavor.
Alternative Ingredients for Homemade Hummus Without Tahini
Not a fan of tahini? No worries! There are plenty of substitutes that work just as well.
Tahini Substitutes for Homemade Hummus:
- Greek yogurt – Adds creaminess and a slight tang.
- Sunflower seed butter – A nut-free alternative with a similar texture.
- Almond or cashew butter – Adds richness and a mild sweetness.
- Olive oil + sesame oil – A lighter option if you just want a hint of sesame flavor.
Each alternative slightly changes the taste, but the result is still a delicious, creamy hummus!
Looking for more creative ingredient swaps? You might love this Quinoa, Black Bean & Avocado Salad for another nutritious twist!
Spices and Flavor Enhancers for the Perfect Taste
Now, let’s talk about seasonings—because plain hummus is good, but well-seasoned hummus? Next level!
Essential Spices for Homemade Hummus:
- Garlic – Fresh or roasted for a punch of flavor.
- Cumin – Adds warmth and depth.
- Paprika – A little smoky, a little sweet.
- Salt & Lemon Juice – Brightens up the flavors.
If you want to get creative, try adding:
- Za’atar – A Middle Eastern spice blend for an herby twist.
- Sumac – A tangy, citrusy spice that enhances the flavor.
- Red pepper flakes – For a spicy kick!
👉 Pro Tip: Always taste and adjust seasoning after blending—flavors meld better once combined.
For more on the health benefits of chickpeas, check out this Harvard Nutrition Source article.
With your ingredients prepped, it’s time to make the smoothest hummus ever
How to Cook Chickpeas for the Creamiest Homemade Hummus
If you’ve ever wondered why some homemade hummus is silky smooth while others feel grainy, the answer lies in how you cook your chickpeas. Cooking them just right makes all the difference!
Soaking vs. Canned Chickpeas – What Works Best?
You can use either dried chickpeas or canned chickpeas for homemade hummus, but each has its pros and cons.
Dried Chickpeas (For Traditional Homemade Hummus)
✔ Better flavor – Deep, earthy, and slightly nutty.
✔ Creamier texture – Once cooked, they blend up much smoother.
✖ Takes time – You need to soak them overnight and cook them.
How to Soak Chickpeas:
- Rinse 1 cup of dried chickpeas and place them in a bowl.
- Cover them with triple the amount of water (they expand!).
- Let them sit for at least 12 hours—overnight is best.
- Drain and rinse before cooking.
Canned Chickpeas (For Quick & Easy Homemade Hummus)
✔ Saves time – No soaking, no waiting—just drain and rinse!
✔ Convenient – Perfect for last-minute cravings.
✖ Slightly grainier texture – Not as creamy as cooked-from-scratch chickpeas.
👉 Pro Tip: To get creamier homemade hummus using canned chickpeas, try boiling them for 15 minutes before blending.
Cooking Methods for Perfectly Tender Chickpeas
Once your chickpeas are soaked (or if you’re using canned ones), it’s time to cook them until they’re super soft.
Stovetop Cooking (For a Traditional Method)
- Add chickpeas to a large pot and cover with fresh water.
- Bring to a boil, then simmer for 60–90 minutes.
- For extra softness, add ½ teaspoon baking soda (helps break them down).
- Drain and let cool slightly before blending.
Pressure Cooker (For Faster Cooking)
- Place soaked chickpeas in a pressure cooker with 4 cups of water.
- Cook on high pressure for 15–20 minutes.
- Quick-release the pressure and drain.
👉 Pro Tip: Overcooked chickpeas = the creamiest hummus. Don’t be afraid to let them go a little mushy!
Blending the Perfect Homemade Hummus – A Foolproof Method
Now for the fun part—turning those soft chickpeas into creamy, dreamy hummus!
Achieving the Smoothest Texture
Smooth homemade hummus comes down to three key factors:
- Peeling the chickpeas – Removing the skins makes hummus ultra-silky.
- Blending in stages – Start with tahini and lemon juice before adding chickpeas.
- Adding ice water – Yes, ice water! It helps emulsify the mixture for fluffier hummus.
Step-by-Step Blending Guide
1️⃣ Blend tahini & lemon juice first – Process ¼ cup tahini + juice of 1 lemon for 30 seconds. This step whips the tahini into a light, airy base.
2️⃣ Add garlic, salt, and spices – Toss in 1 garlic clove, ½ tsp salt, and ½ tsp cumin. Blend again.
3️⃣ Time for chickpeas – Add 1½ cups cooked chickpeas, but don’t blend yet!
4️⃣ Drizzle in olive oil & ice water – While blending, slowly pour in 2 tbsp olive oil + 3 tbsp ice water.
5️⃣ Scrape and blend again – Stop, scrape down the sides, and blend for another 1–2 minutes until it’s super smooth.
👉 Pro Tip: Let hummus rest for 10 minutes before serving—the flavors meld and improve!
Common Mistakes and How to Fix Them
Mistake 1: Hummus is too thick.
✔ Fix: Add more ice water (1 tbsp at a time) while blending.
Mistake 2: It tastes bland.
✔ Fix: Add more lemon juice or salt—seasoning is key!
Mistake 3: Texture isn’t smooth.
✔ Fix: Blend longer and make sure chickpeas are extra soft.
Customizing Your Hummus – Variations to Try
Now that you’ve mastered homemade hummus, why not switch it up with different flavors?
Spicy Hummus
🌶 Add: ½ tsp cayenne + 1 tsp smoked paprika.
🔥 Extra heat? Blend in a roasted jalapeño or red pepper flakes.
Roasted Garlic Hummus
🧄 Add: 1 head of roasted garlic (roast at 400°F for 30 min).
🥄 Pro Tip: Roasted garlic makes hummus sweeter and richer!
Avocado Hummus
🥑 Add: 1 ripe avocado for a creamy, guacamole-like twist.
🍋 Bonus: Add extra lime juice to keep it fresh.
Beet Hummus
💜 Add: 1 small roasted beet for a vibrant pink color and earthy flavor.
💡 Why it’s great: It’s loaded with antioxidants!
For more hummus variations and inspiration, check out Serious Eats’ Hummus Guide.
If you enjoy unique hummus flavors, you’ll also love trying this delicious Sesame Seed Bagel with Creative Toppings for the perfect pairing!
How to Serve Hummus – Best Pairings & Presentation
Hummus is more than just a dip—it’s a versatile dish that pairs beautifully with countless foods. Whether you go the traditional route or try something modern, hummus can be a delicious addition to any meal.
Traditional vs. Modern Serving Ideas
Traditional Ways to Serve Hummus
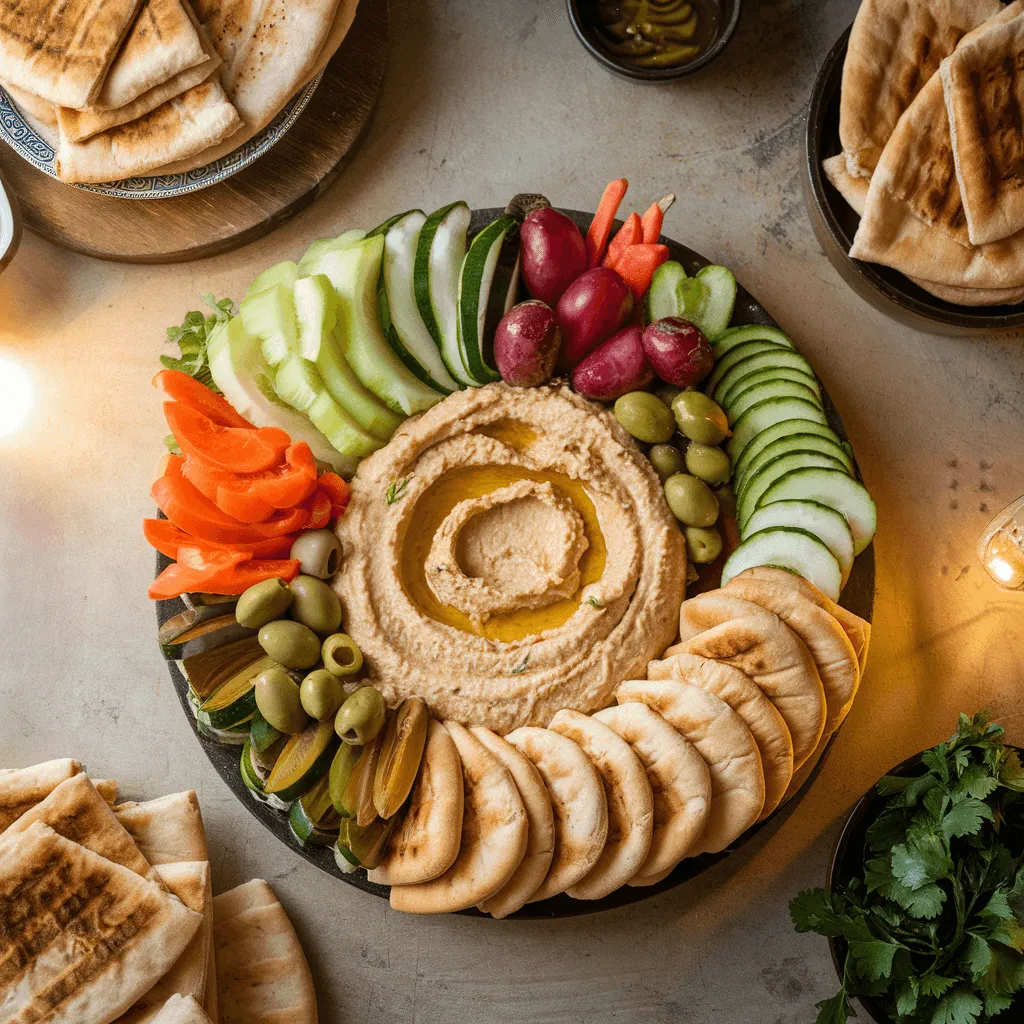
Authentic Middle Eastern hummus is usually served with:
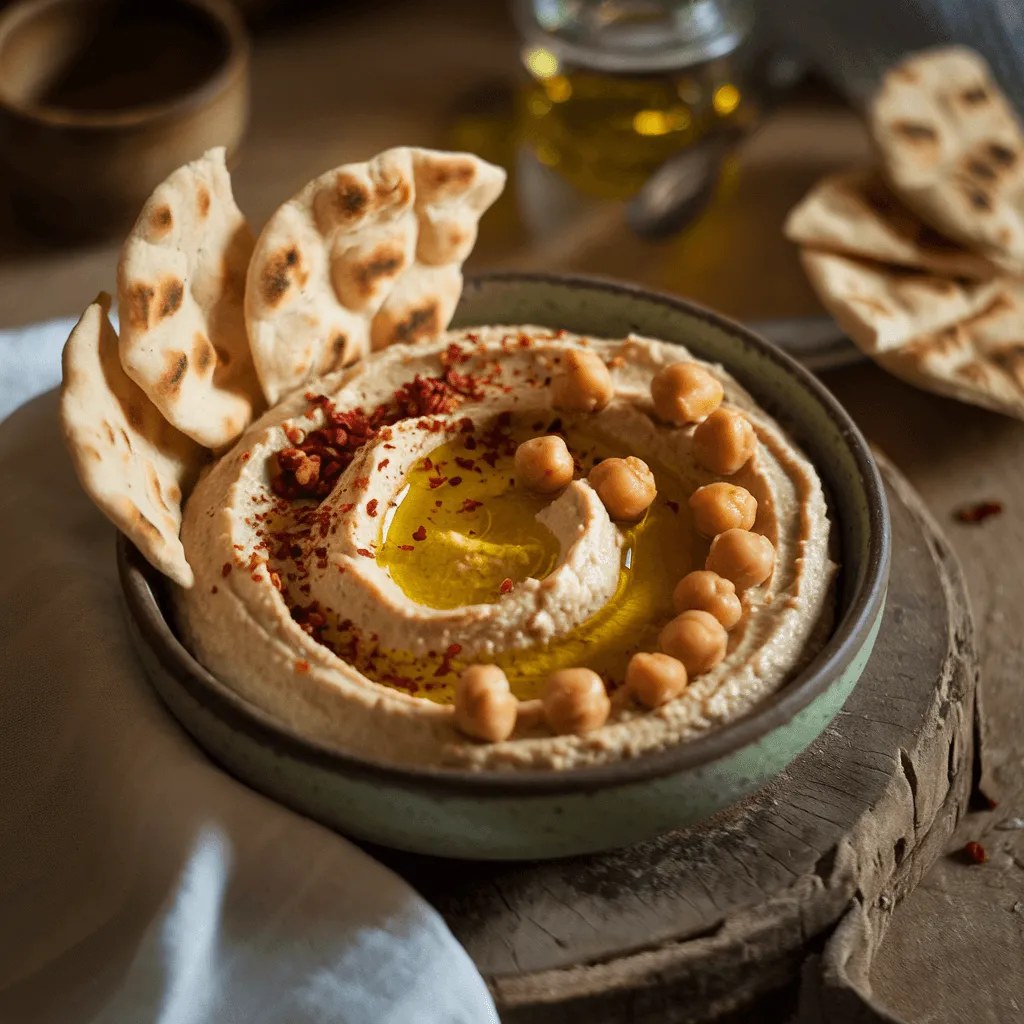
✔ Warm pita bread – Soft, fluffy, and perfect for scooping.
✔ Olive oil drizzle – Enhances creaminess and flavor.
✔ Fresh veggies – Cucumbers, carrots, and radishes complement hummus beautifully.
✔ Za’atar or sumac topping – Adds extra depth of flavor.
Modern & Creative Serving Ideas
Want to get creative? Try these fun, unconventional ways to use hummus:
🥪 Spread it on sandwiches – A healthy mayo alternative.
🥗 Mix it into salad dressings – Adds creaminess and protein.
🍳 Top scrambled eggs with hummus – Sounds weird, but it’s amazing!
🍝 Use it as a pasta sauce – Mix with a little water for a creamy, nutty pasta dish.
👉 Pro Tip: For a restaurant-style hummus plate, spread it in a circular motion, drizzle olive oil, and sprinkle spices or fresh herbs on top.
For more quick and easy recipes, check out our Quick & Easy Recipe Collection.
How to Store Hummus for Maximum Freshness
Since homemade hummus doesn’t have preservatives, proper storage is key to keeping it fresh and delicious.
Refrigeration Tips and Shelf Life
🌡 How long does hummus last in the fridge?
- Homemade hummus: 4–5 days in an airtight container.
- Store-bought hummus: Up to 7 days (check the label).
Best Practices for Storing Hummus
✔ Keep it airtight – Exposure to air makes it spoil faster.
✔ Drizzle olive oil on top – Helps maintain moisture and freshness.
✔ Use a clean spoon every time – Avoids bacteria contamination.
Can You Freeze Hummus? Pros and Cons
Yes, you can freeze hummus, but the texture might change slightly.
✅ Pros:
✔ Extends shelf life up to 3 months.
✔ Great for meal prep—just thaw and enjoy.
❌ Cons:
✖ Can become grainy after thawing.
✖ Might need extra blending to restore smoothness.
How to Freeze & Thaw Hummus Properly
1️⃣ Store in small, airtight containers (leaving space for expansion).
2️⃣ Drizzle a thin layer of olive oil on top to lock in moisture.
3️⃣ To thaw, place in the fridge overnight and stir well before serving.
👉 Pro Tip: Add a splash of lemon juice or olive oil after thawing to freshen up the flavor!
For more expert food storage tips, check out USDA’s Food Safety Guidelines.
Frequently Asked Questions
1. Can You Make Hummus Without Tahini?
Absolutely! While tahini adds a rich, nutty flavor, you can substitute it with Greek yogurt, nut butters, or even extra olive oil. Each alternative slightly alters the taste, but your hummus will still be creamy and delicious.
2. What’s the Easiest Way to Make Hummus?
The easiest method is using canned chickpeas. Just blend them with tahini, garlic, lemon juice, olive oil, and spices. To make it extra smooth, warm the chickpeas before blending or add a splash of ice water.
3. What Are the Health Benefits of Hummus?
Hummus is packed with protein, fiber, and healthy fats, making it great for digestion, weight management, and heart health. Thanks to chickpeas and tahini, it’s also rich in iron, calcium, and antioxidants.
4. What’s the Secret to Authentic Hummus?
For the most authentic hummus, use freshly cooked chickpeas, good-quality tahini, and a generous amount of lemon juice. Blending the tahini and lemon first (before adding chickpeas) makes the texture incredibly smooth.
5. How Can I Make My Hummus Creamier?
To get ultra-smooth hummus:
- Peel the chickpeas (or use canned ones boiled for 15 minutes).
- Blend in stages—start with tahini and lemon juice before adding chickpeas.
- Use ice water while blending for a fluffier texture.
6. Can You Make Hummus Without Oil?
Yes! Simply replace olive oil with more tahini, water, or even aquafaba (the liquid from canned chickpeas). It won’t be as rich, but still creamy and flavorful.
7. What’s the Best Blender for Hummus?
A high-powered food processor (like Cuisinart or Ninja) works best. If using a regular blender, add extra liquid and scrape the sides frequently to get an even blend.
That’s it—you’re now a hummus master! Whether you’re making it for a snack, a party, or meal prep, you now know everything about making the best homemade hummus.